Compute Instance
What is a Compute Instance?
A Compute Instance is a virtual machine (VM) hosted on the cloud, providing dedicated CPU, memory, and storage resources—functioning much like a physical server. It enables you to deploy applications, host services, or run workloads with full administrative control and scalability.
Compute Instances are a foundational component of cloud infrastructure, offering flexibility, speed, and cost-efficiency for a wide range of use cases—from development environments to production-grade applications.
🎥 Watch: How to Create an Instance
Creating a Compute Instance
To launch a Compute Instance on the WebberStop Cloud Platform, follow the step-by-step process below:
Login to the Portal.
Navigate to the Instances section from the side menu.
Click the ➕ (plus) icon to open the Compute Instance creation wizard.
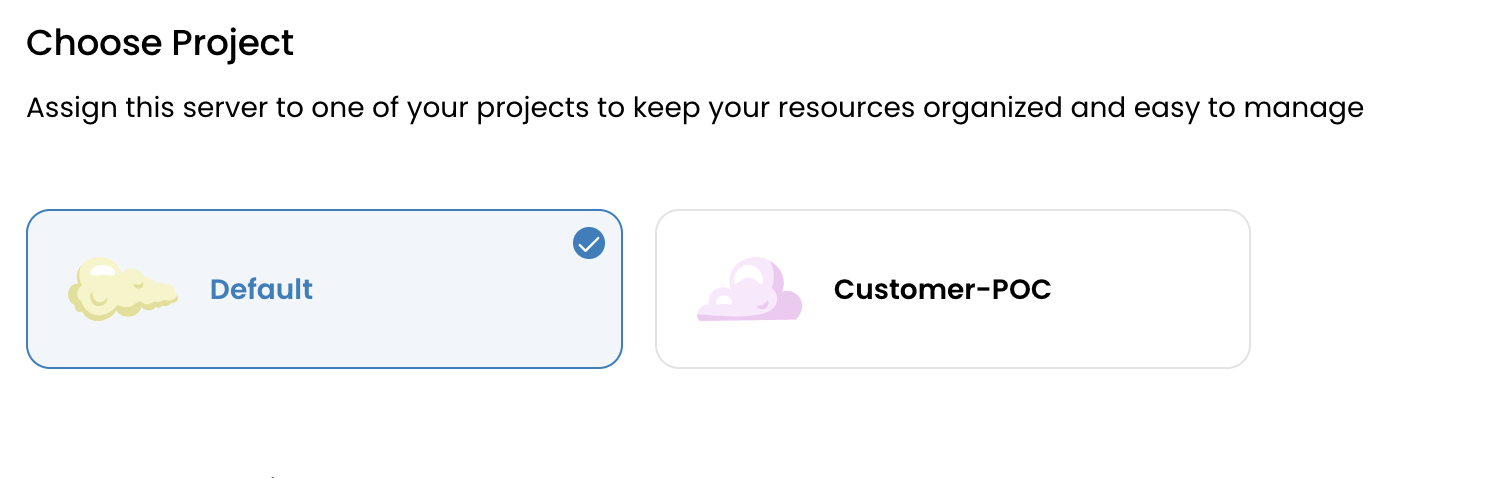
Select the Project
Projects help organize instances, manage access rights, and separate billing. Assign users with different roles (e.g., Admin, Viewer) under a project for secure and organized resource management.
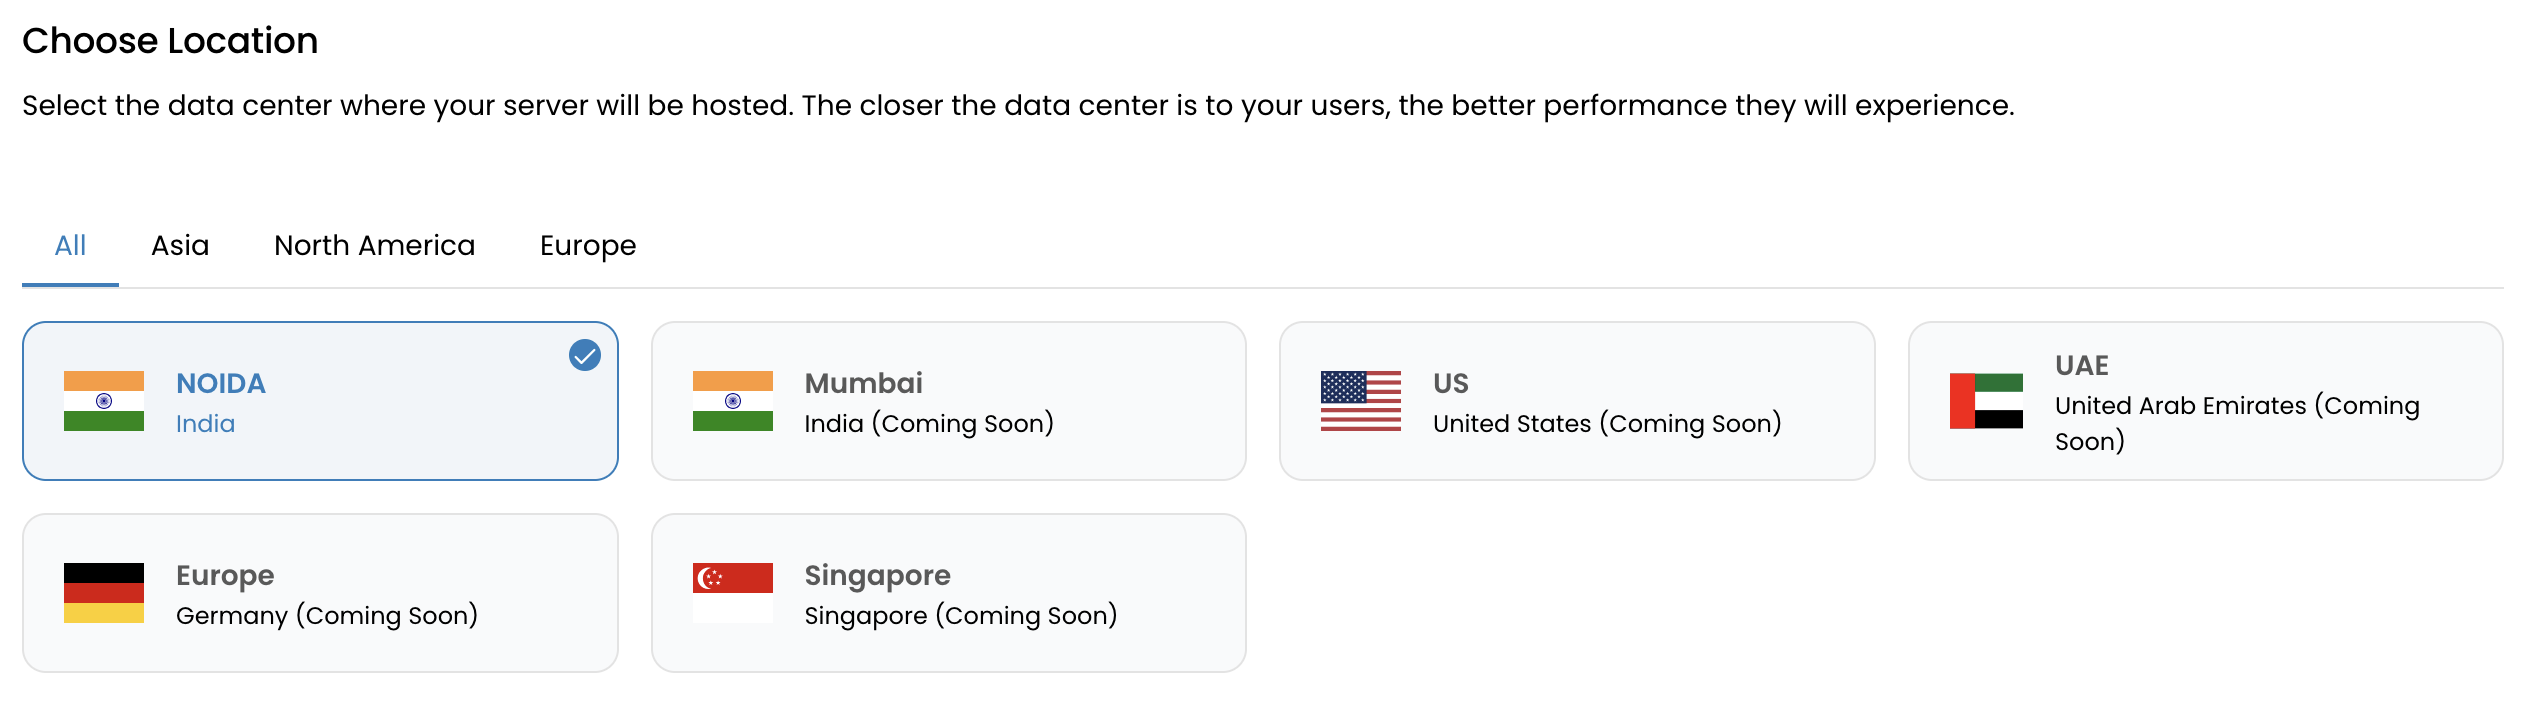
Choose a Data Center (DC) Location
Select a geographic region for deployment.
Tip: Opt for a location nearest to your end users or that meets compliance and latency needs.
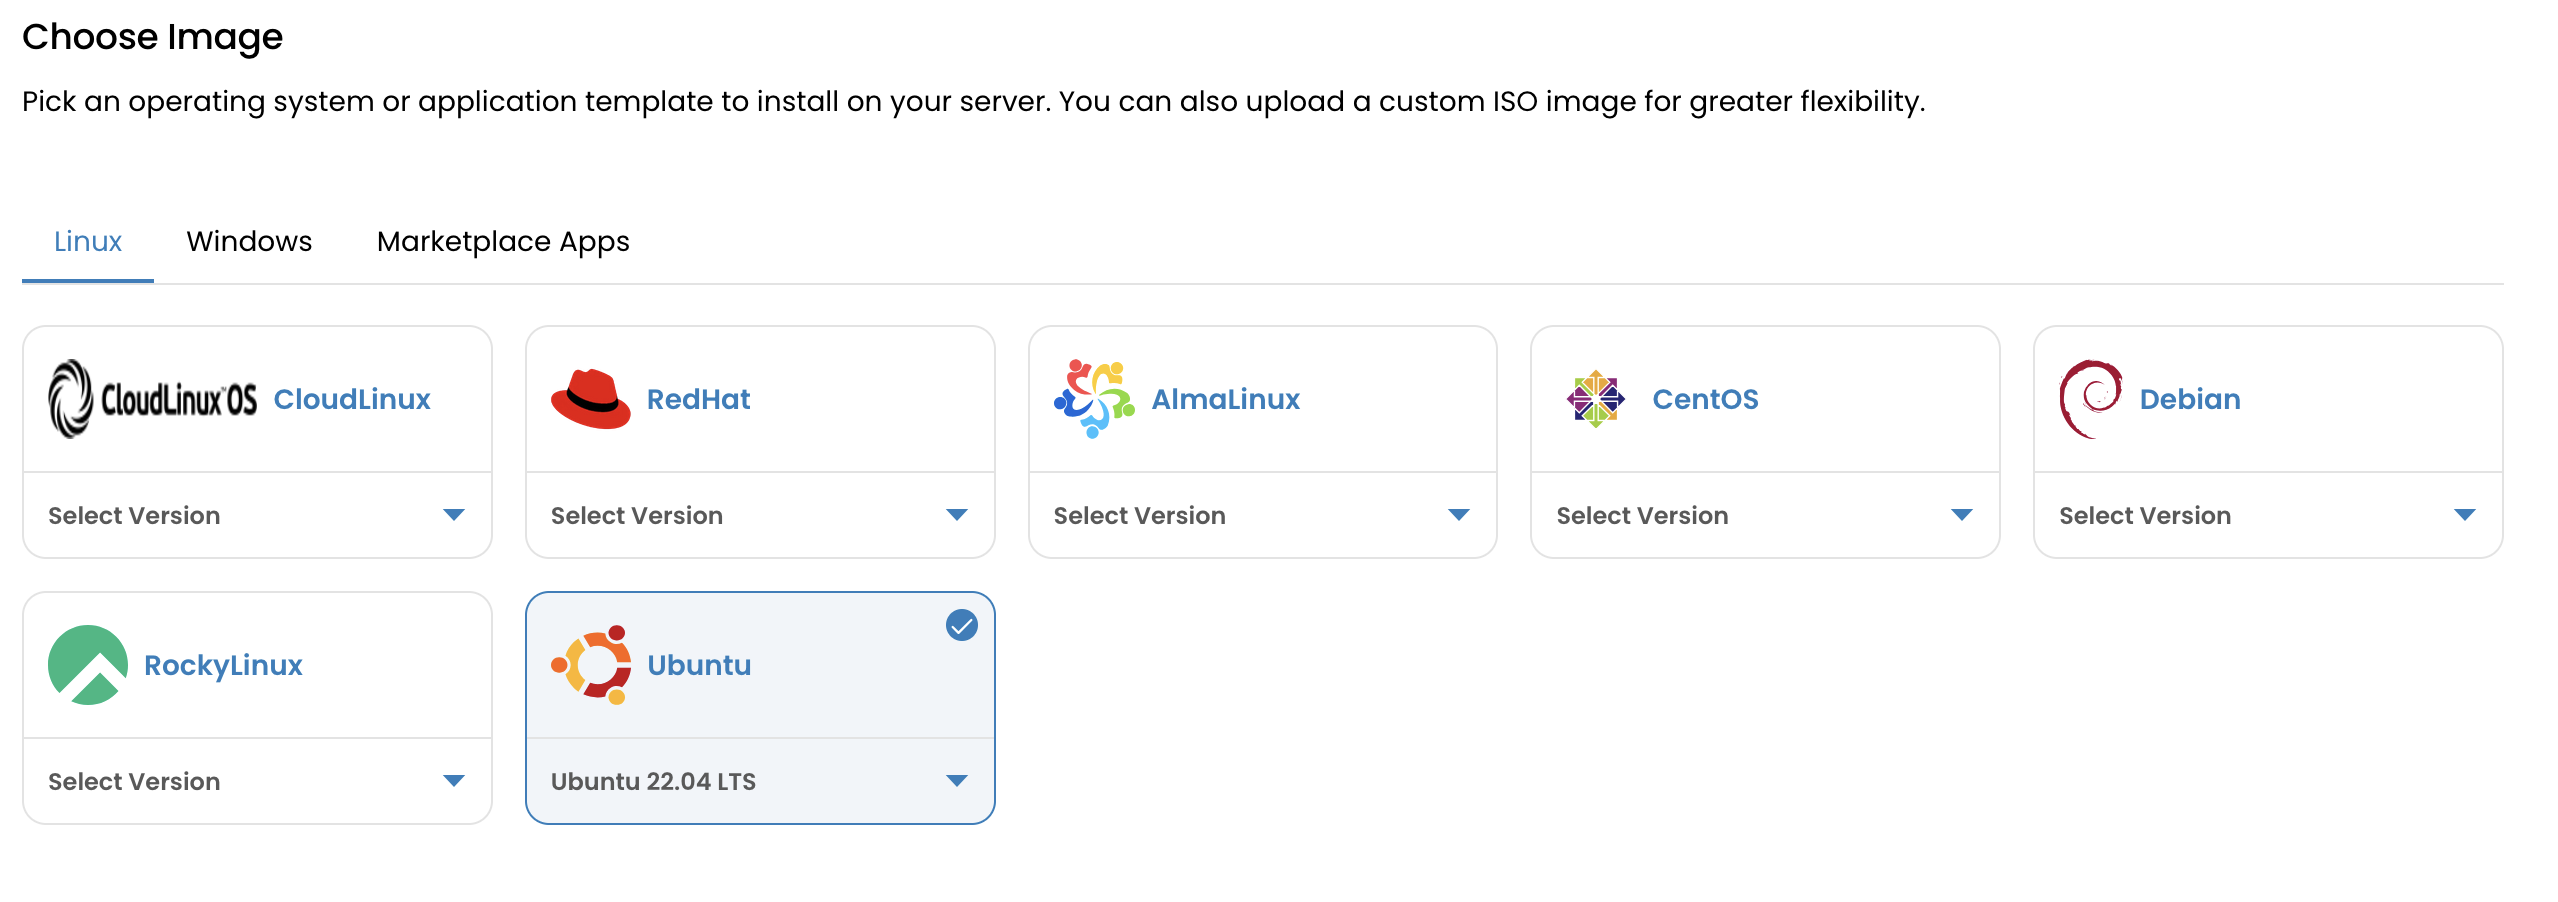
Choose the Operating System
- Select from WebberStop's library of preloaded OS templates (e.g., Ubuntu, CentOS, Debian).
- Or use a custom image uploaded to your environment.
Select a Compute Plan
Choose from predefined plans tailored to different needs:
- Basic: Balanced for general workloads.
- CPU Intensive: Optimized for high-performance computing tasks.
- Memory Intensive: Ideal for applications requiring large memory allocations.
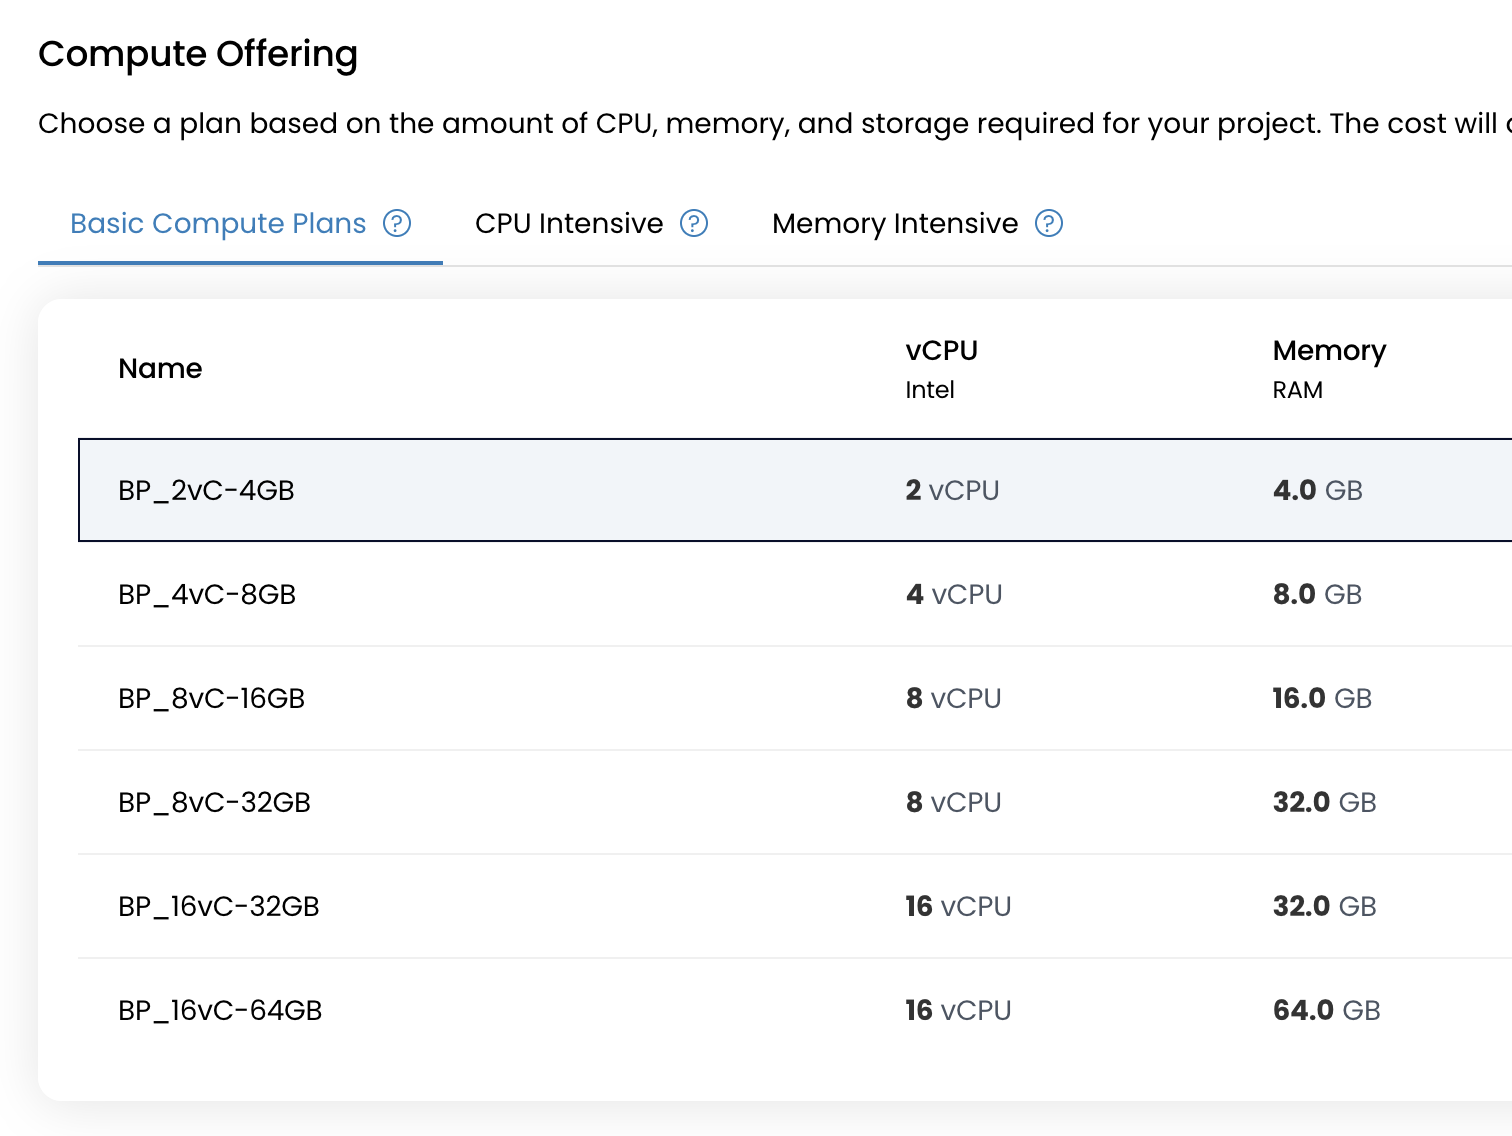
Custom plans may also be configured based on your specific requirements.
Pick a Network Type
WebberStop supports three network configurations:
- Direct Public IP: Assigns a public IP directly to the VM for immediate internet access.
- VPC Network: Deploys the instance in an isolated, private network with optional public access through NAT.
- L2 Network: Connects the instance to a Layer 2 segment, suitable for advanced or custom network topologies.

Assign a Public IPv4 Address (optional)
Enable this if your instance requires external access.
(Optional) Add:
- An SSH Key for secure, password-less login.
- A Startup Script to automate configuration tasks upon first boot.
Provide:
- A unique Instance Name
- A valid Hostname
Select a Billing Cycle
WebberStop supports flexible billing options:
- Hourly: Best for short-lived workloads or testing.
- Monthly: Cost-effective for consistent use.
- Yearly: Ideal for long-term production deployments with discounted pricing.
Click Review & Deploy to finalize and create the instance.
Once initialized, your instance will be operational and ready for use.
Next Steps
After successful deployment, visit the Instance Overview page to monitor, manage, and configure your VM.
Explore related guides to further interact with your instance: