Instance Overview
The Instance Overview page offers a comprehensive summary and direct management capabilities for your virtual machine (VM) instance.
It presents real-time status, geographical location, operating system details, performance metrics, and quick action tools for efficient VM control.
Creating a New Instance
To launch a new virtual machine, follow these key steps:
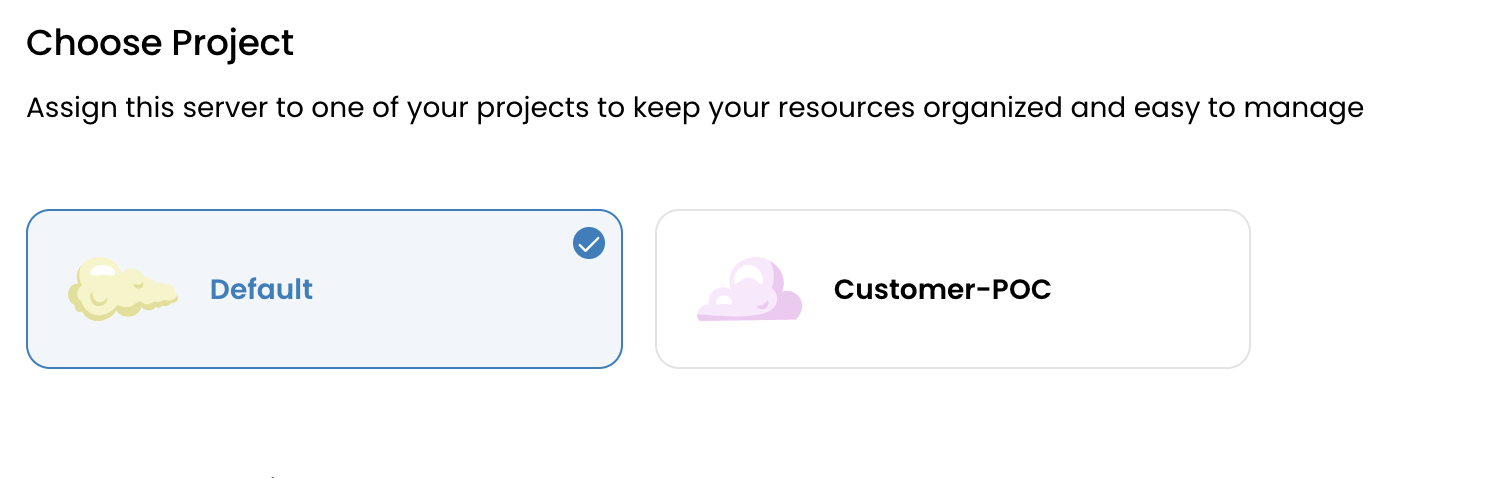
Select a Project
Projects help segregate resources, billing, and user roles. You can create multiple projects for different teams or departments, each with its own access rights and billing summary.
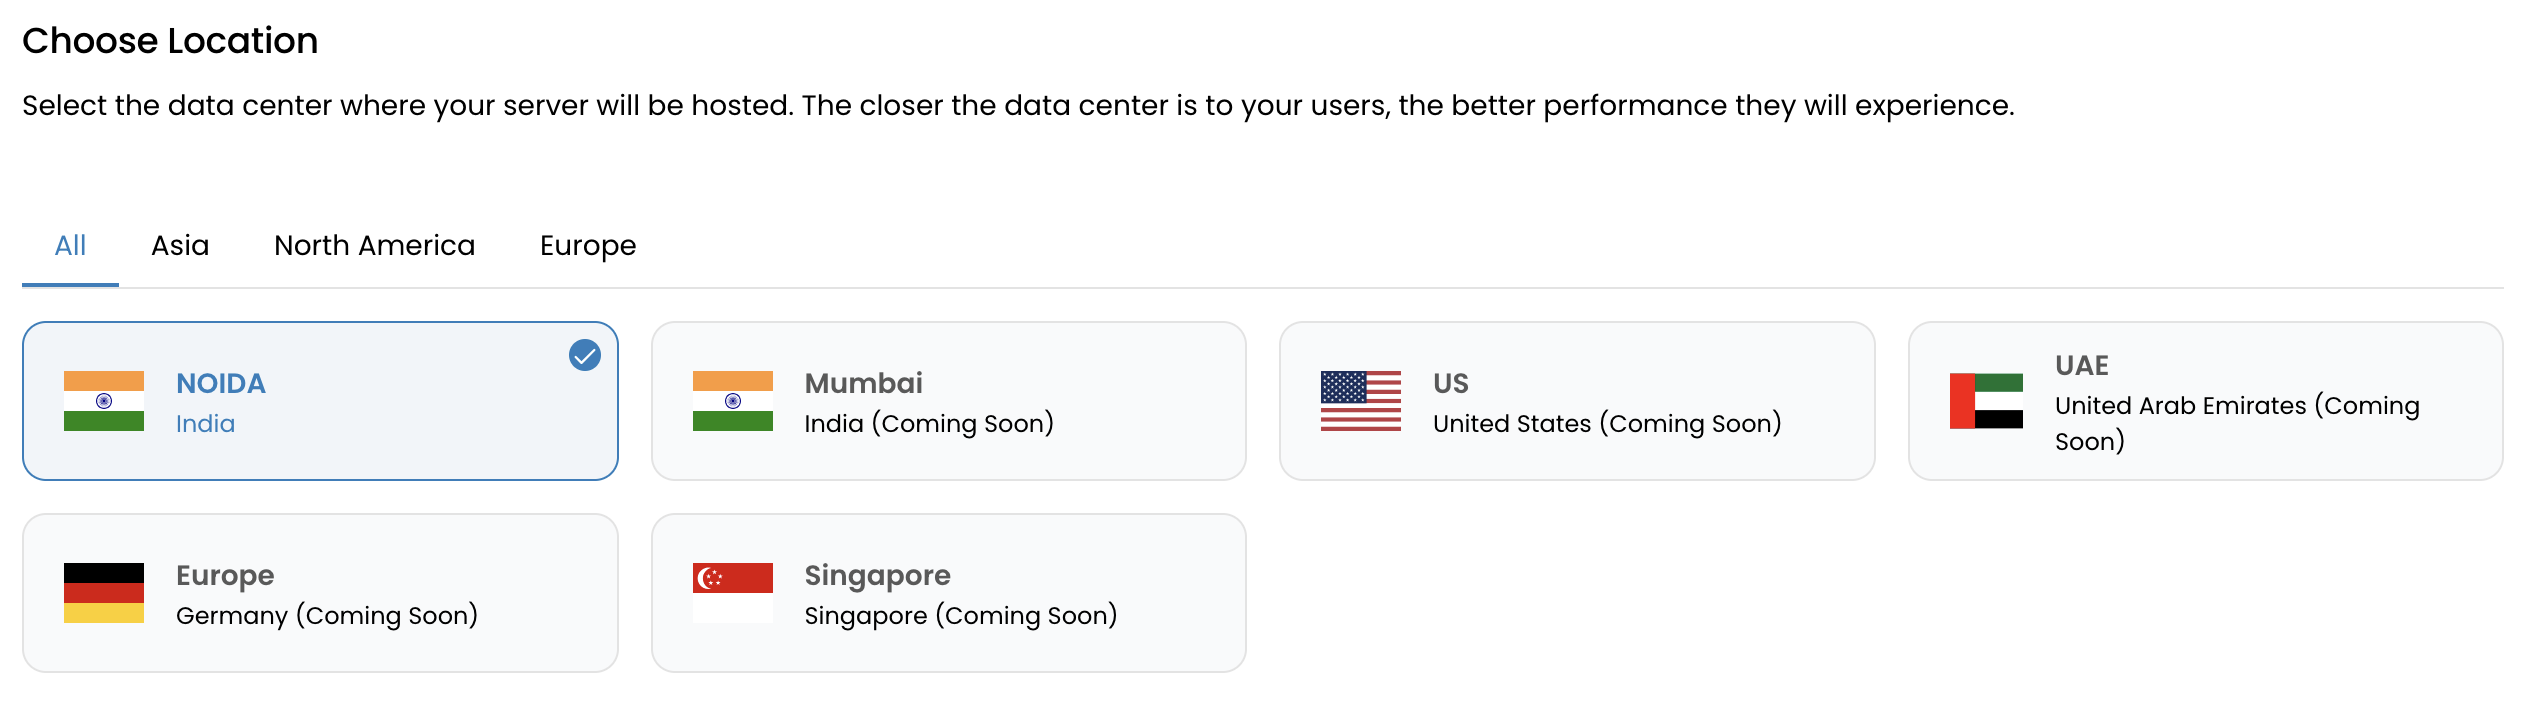
Choose a Data Center (DC) Location
The DC location determines latency and compliance. Choose a region closest to your end users or in a jurisdiction that meets your data residency requirements.
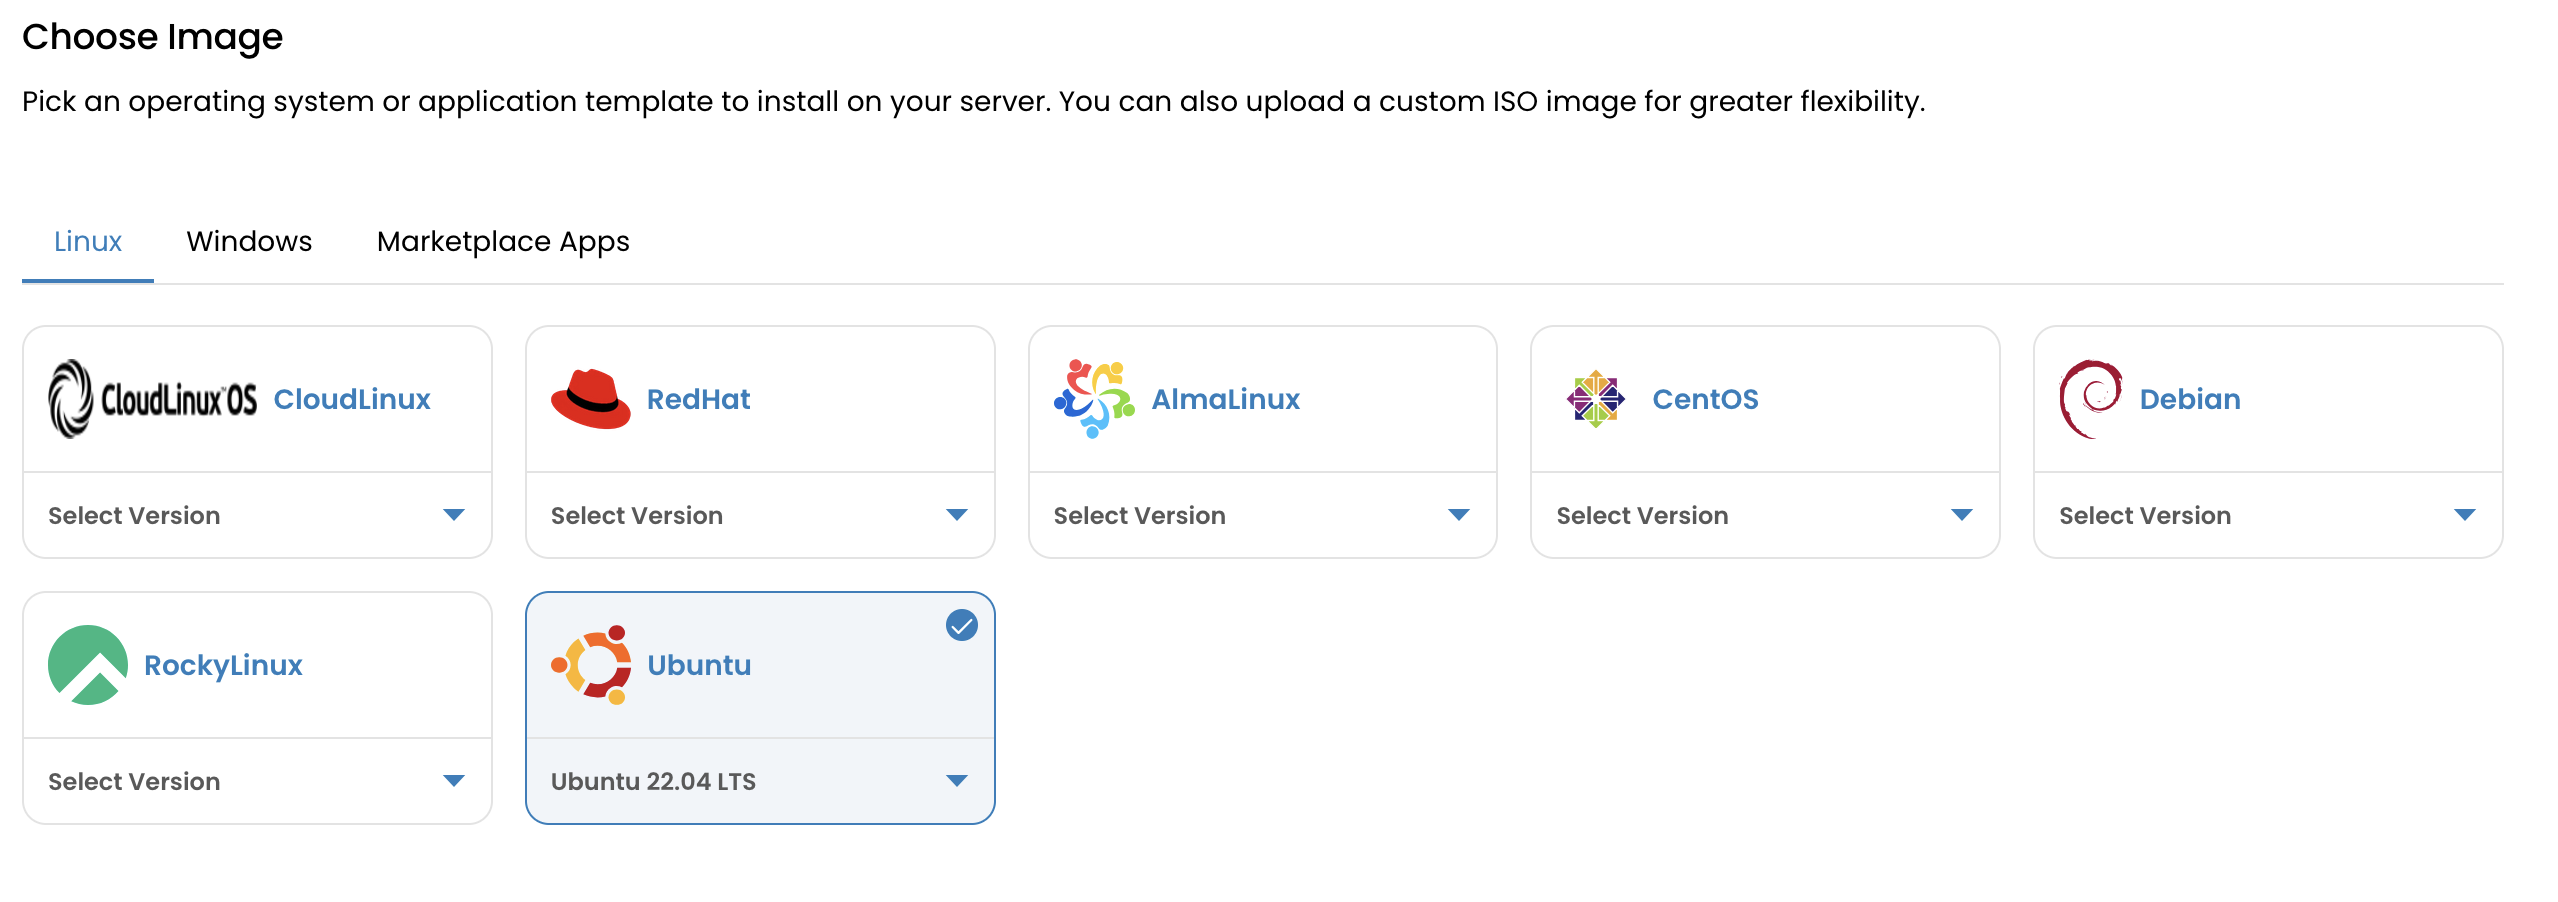
Choose an Operating System
Pick from available OS templates (e.g., Ubuntu, CentOS, Debian, etc.).
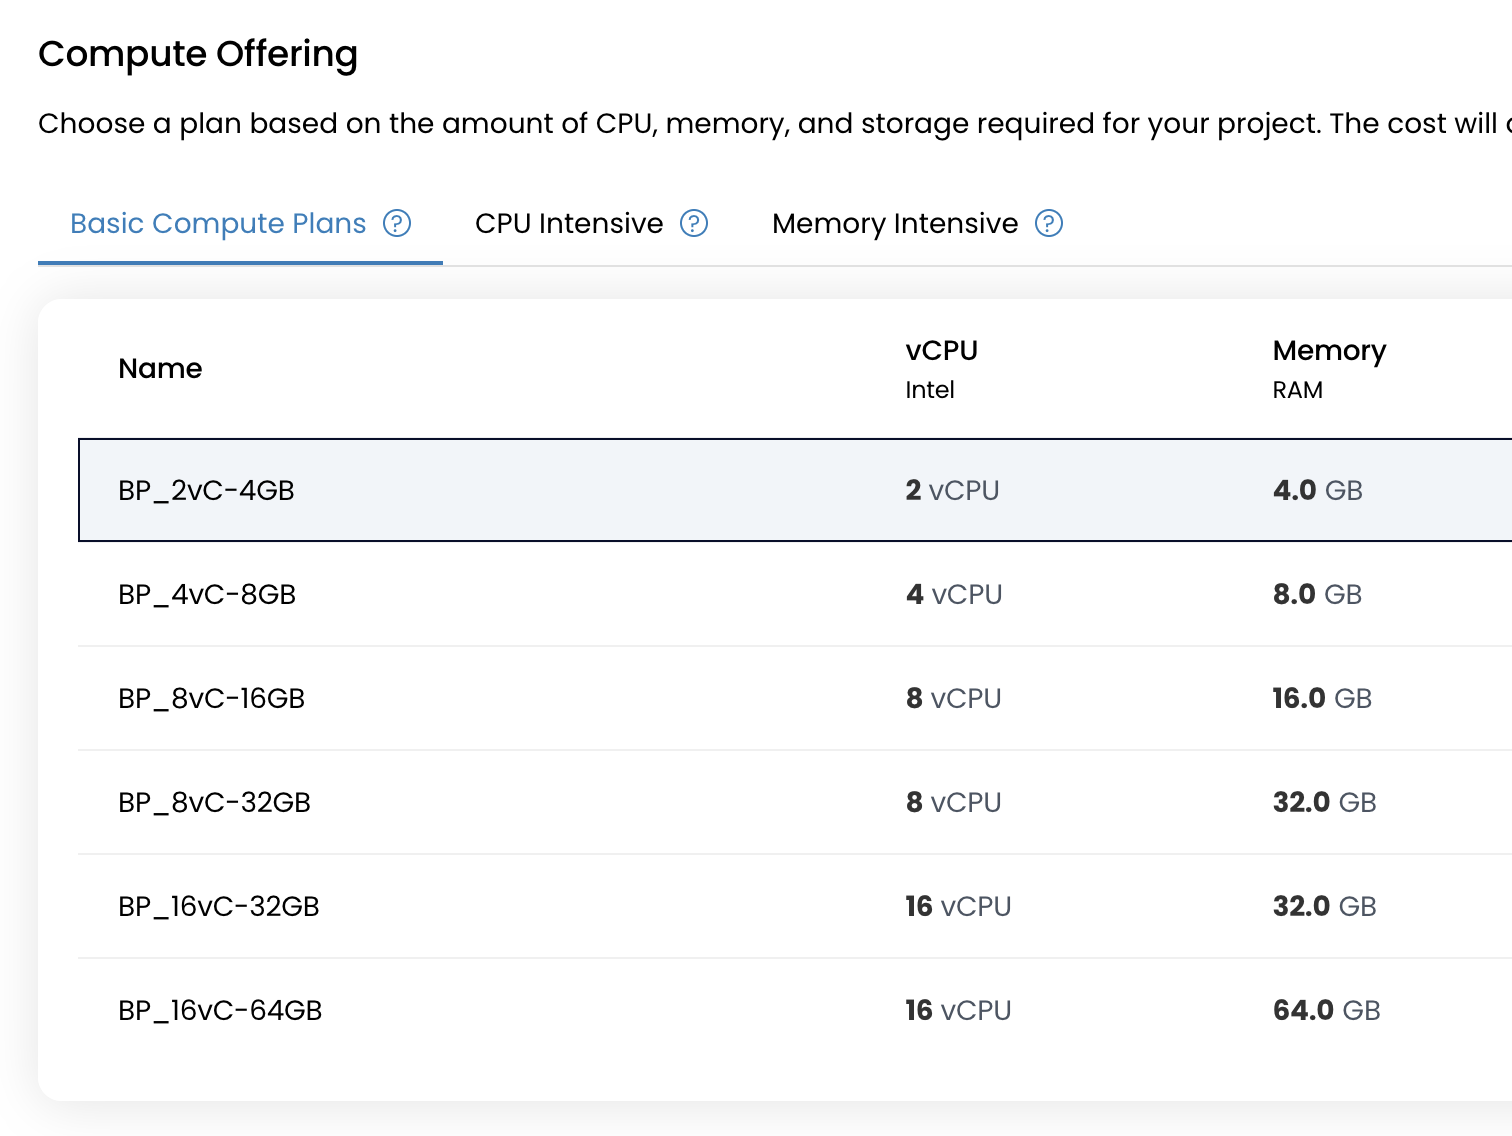
Select a Compute Plan
Available plan types include:
- Basic: Ideal for general-purpose workloads
- CPU Intensive: Optimized for compute-heavy applications
- Memory Intensive: Best suited for RAM-intensive tasks
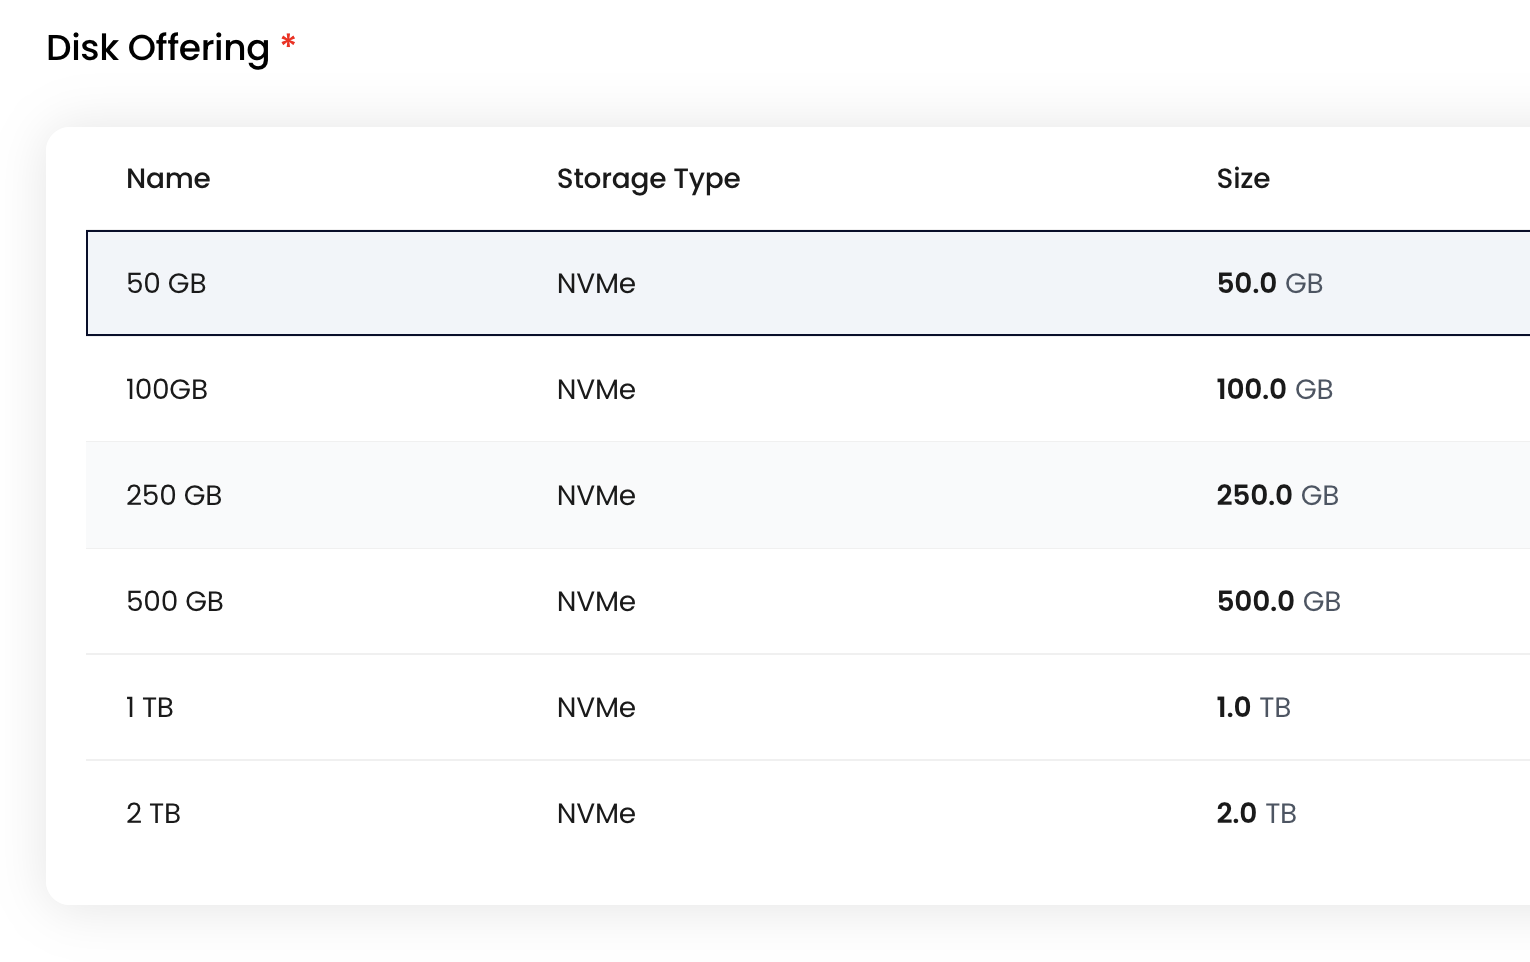
Choose a Disk Offering Select The disk space that you need for your instance
Assign a Network
Cloud Management Portal supports three types of networks:
- Direct Public IP: Assigns a public IP directly to your instance for immediate internet accessibility.
- VPC Network: Launches the instance within an isolated Virtual Private Cloud for secure internal networking, with optional NAT for internet access.
- L2 Network: Bridges your VM to an L2 segment, useful for advanced networking scenarios or custom router/firewall integration.

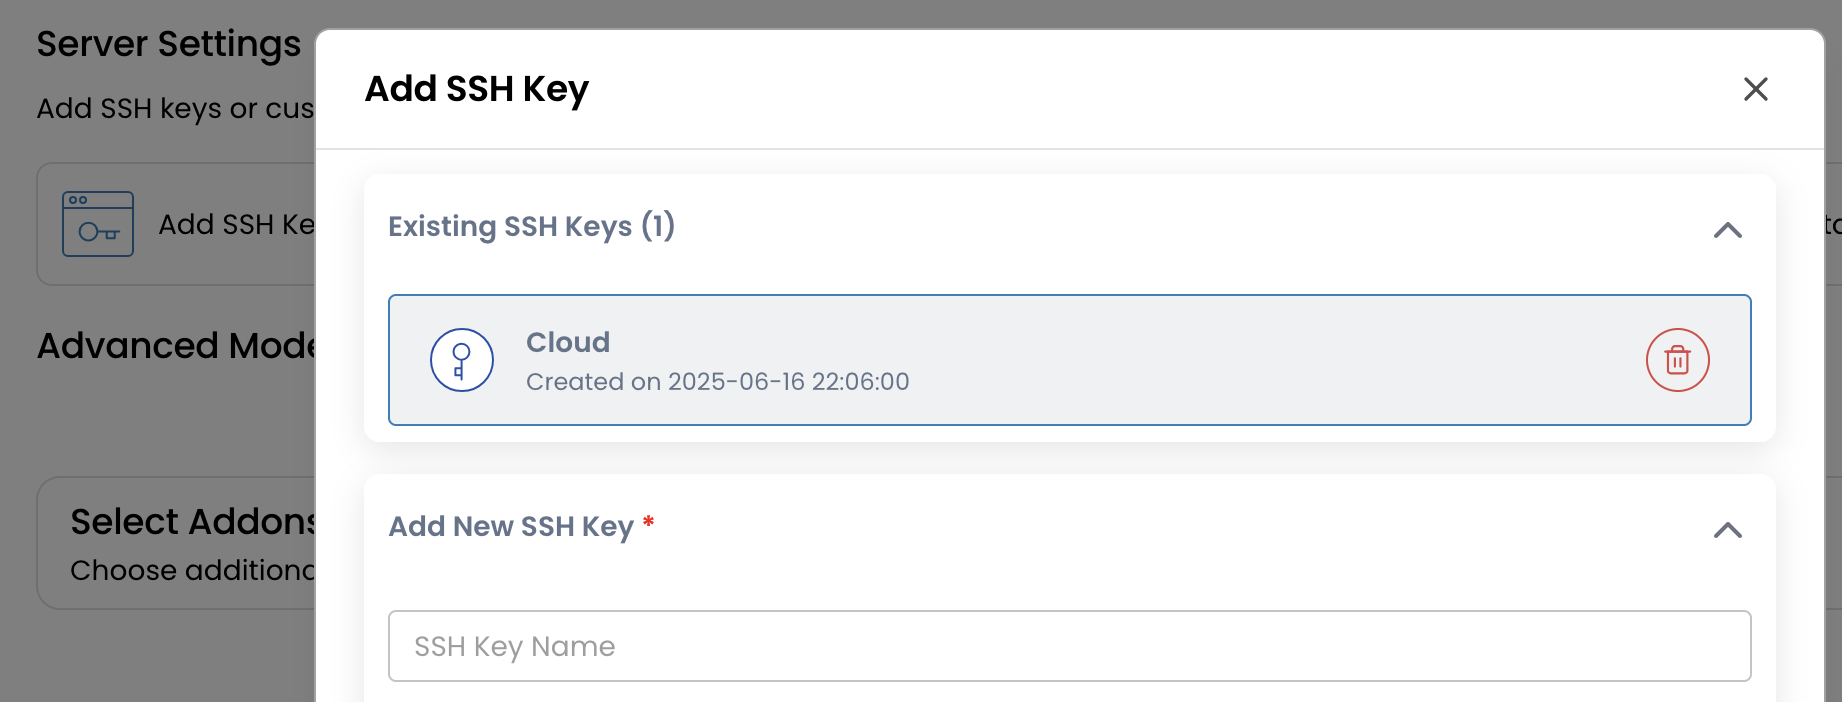
Add an SSH Key (Recommended)
SSH keys offer secure, password-less login to your VM. Paste your public key to enable access via SSH without exposing credentials.
Review and Confirm
Choose the billing cycle (Hourly, Monthly, or Yearly), and review all selected configurations before provisioning the instance.
Key Sections
Action Buttons
Efficient tools to manage your instance:
- Console Access: Launch a web-based terminal to interact with the VM.
- Refresh: Update the instance status and associated data.
- VM Volume Snapshots: Create or view snapshots for backup and recovery purposes.
- Power Off: Gracefully shuts down the VM.
- Reboot: Restarts the virtual machine.
- Reset / Re-Install: Reinstalls the OS (this will erase all existing data).
- Delete: Permanently removes the instance.
Instance Information
- Instance Name: For example,
newinstance. - Created On: The date and time the instance was provisioned.
- Status: Current operational state (e.g., Running, Powered Off).
Instance Details
- Location: Assigned data center or region.
Tip: Choose a DC location based on proximity to your users, compliance needs, and disaster recovery plans. - Operating System: OS template in use (e.g., Ubuntu 22.04).
- Cost: Cumulative resource usage cost.
Resource Specifications
- Label: Custom name or identifier for the VM.
- CPU: Number of virtual CPUs allocated.
- RAM: Memory allocation in gigabytes (GB).
- Disk Size: Total assigned disk capacity.
- Public IP Address: Used for external connectivity.
- Private IP Address: Internal address within the virtual network.
- Network: Associated virtual network type (Direct, VPC, L2).
- Username: Default system login user.
- Password: Concealed for security.
Resource Usage
- Disk Usage: Displays current disk space utilization.
- Network Traffic: Tracks inbound and outbound traffic.
Default view: Last 24 hours.
Projects and User Management
Cloud Management Portal supports Projects to organize workloads and manage access control effectively:
- Allocate users to specific projects
- Assign role-based access (Admin, Operator, Viewer, etc.)
- Isolate billing, usage, and resources between teams or clients
This is particularly useful for MSPs, teams, or enterprises managing multi-tenant environments.
Billing Cycles
Billing is flexible and can be customized based on your workload and budget:
- Hourly: Pay only for what you use, ideal for testing and development
- Monthly: Cost-effective for stable, ongoing workloads
- Yearly: Discounted rates for long-term deployments
Summary
The Instance Overview offers a powerful and intuitive interface for VM lifecycle management. From creation to day-to-day operations, administrators and developers can:
- Deploy VMs tailored to workload requirements
- Select from multiple network configurations
- Monitor performance and usage metrics
- Assign access through projects and roles
- Choose flexible billing options
See also: